- Start Arduino – Or restart it if it was open.
- Select the Board and Serial Port – Just as you would if you were using Arduino, make your board and serial port selections from the “Tools” menu.
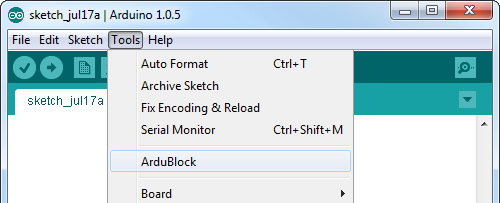
- Open ArduBlock – Run ArduBlock by clicking Tools > ArduBlock. If you don’t see an entry for ArduBlock here, double-check to make sure your directories are all correctly typed and cased.
ArduBlock works hand-in-hand with the Arduino IDE – it relies on the IDE being open in the background, so don’t close the Arduino window!
Using ArduBlock
The ArduBlock window is split into two halves. On the left there are “bins”, which store every possible block you can add to your sketch. The blank, gray slate to the right of that is where you “draw” your sketch. To add a block to your sketch, simply drag it from the bin into the blank, gray area.
To begin, every ArduBlock sketch requires a Program block, which you can find in the “Control” bin. The Program block defines the
setup and loop functions that every Arduino program requires.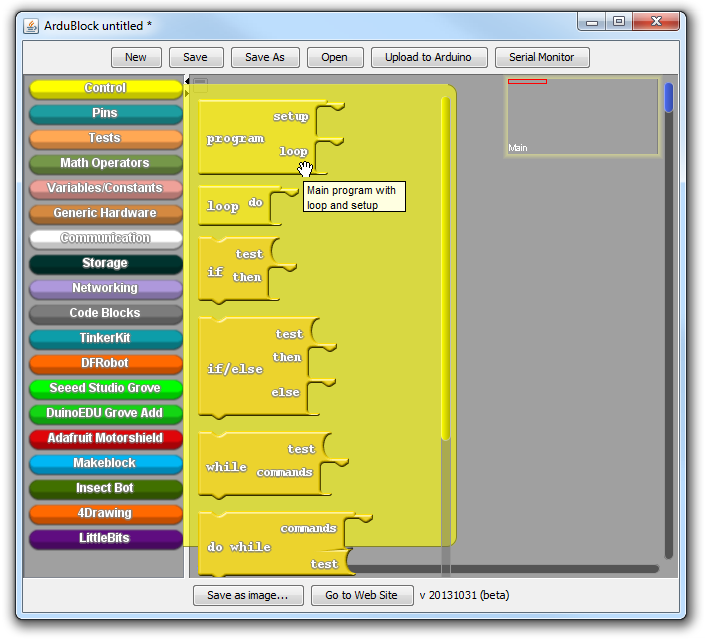
From there, you can drag more Blocks over, snapping them into either the
loop or setup sections. Here, try making a blink program. The set digital pin blocks, which effect a digital output (analogous to Arduino’sdigitalWrite function), are found under the “Pins” bin. The delay milliseconds block, found under “Control”, is analogous to a delay Arduino function.
Then click Upload to Arduino to send your drawing off to your Arduino board. You can ALT+TAB back over to the Arduino window to check your code upload status.

After you’ve successfully uploaded your first sketch, continue to play around and explore the contents of the other bins!
ArduBlock Tips & Tricks
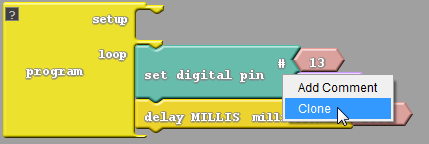
You can clone blocks, or groups of blocks, by right clicking and selecting “Clone”. Everything from the block you right-clicked to the bottom of that “group” will be copied and pasted into the top-left corner of the window. This is a hugetimesaver for bigger drawings.
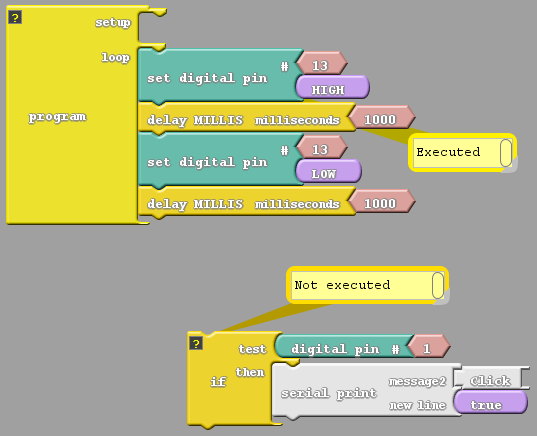
You can temporarily remove code from your sketch by dragging it out of the entirety of the “Program” block. Anything not connected to the main Program block will be ignored when your code is compiled. This is a great debugging tool – you can remove a block of code from program execution, while not actually deleting it, much like commenting out code.
Finally, if you peek back over at the Arduino window, after you’ve uploaded an ArduBlock drawing, you may notice something different. To create your code, the ArduBlock program simply parses your blocks and spits the equivalent Arduino code over into the Arduino window.
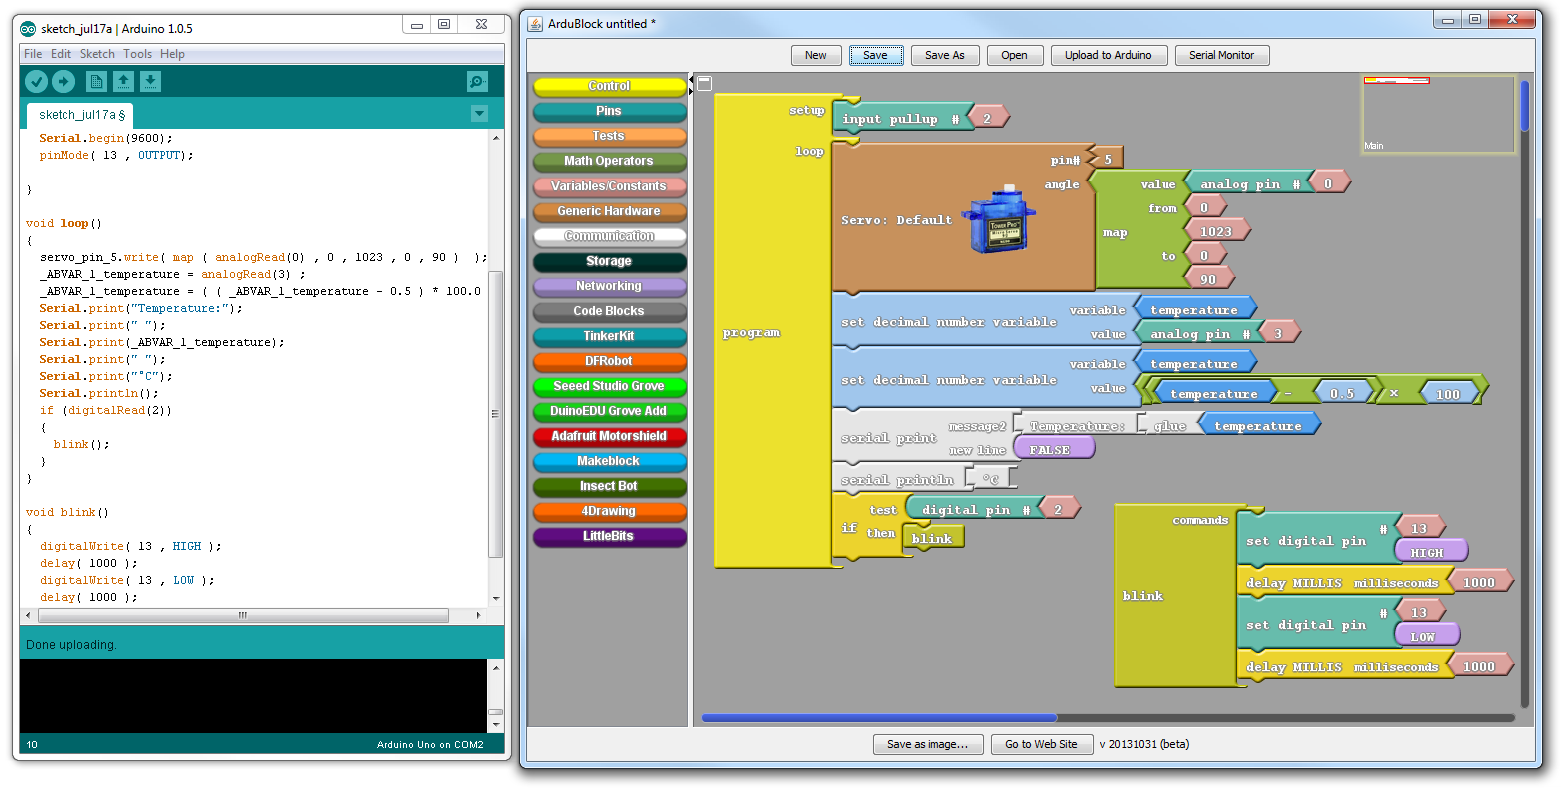
This becomes a great learning tool if you’re interested in transitioning from graphical programming to text.
No comments:
Post a Comment